At Gorilla, we love to partner with creators who embody our values of innovation and a can-do attitude. That’s why we teamed up with Kevin Espiritu from Epic Gardening for a hands-on look at one of the simplest, most productive ways to grow potatoes at home.
If you’ve ever wanted a foolproof method for growing your own spuds — without needing a big backyard or expensive equipment — watch this video for some great gardening hacks, or check out this step-by-step guide below:
Step By Step Instructions
Try out this minimal-effort, high-yield method of growing potatoes that’s ideal for gardeners of all levels:
1. Start With a Sprouting Potato
The process begins by collecting a fully grown potato that’s already beginning to sprout. These sprouts, or eyes, will usually form in several areas throughout the potato as it ages. Start to “chip out” or remove all of these eyes except for two of them.
When chipping out the eyes, dig into the potato slightly, ensuring you remove the entire sprout — not just what’s protruding from the surface. This will help to focus the plant’s energy on just two strong sprouts, increasing the chances of healthy, vigorous growth.
2. Mix the Right Soil Base
It’s important to set up favorable soil conditions so that your potatoes can prosper. Create the ideal soil mix using:
- Peat moss (or coconut coir)
- Compost
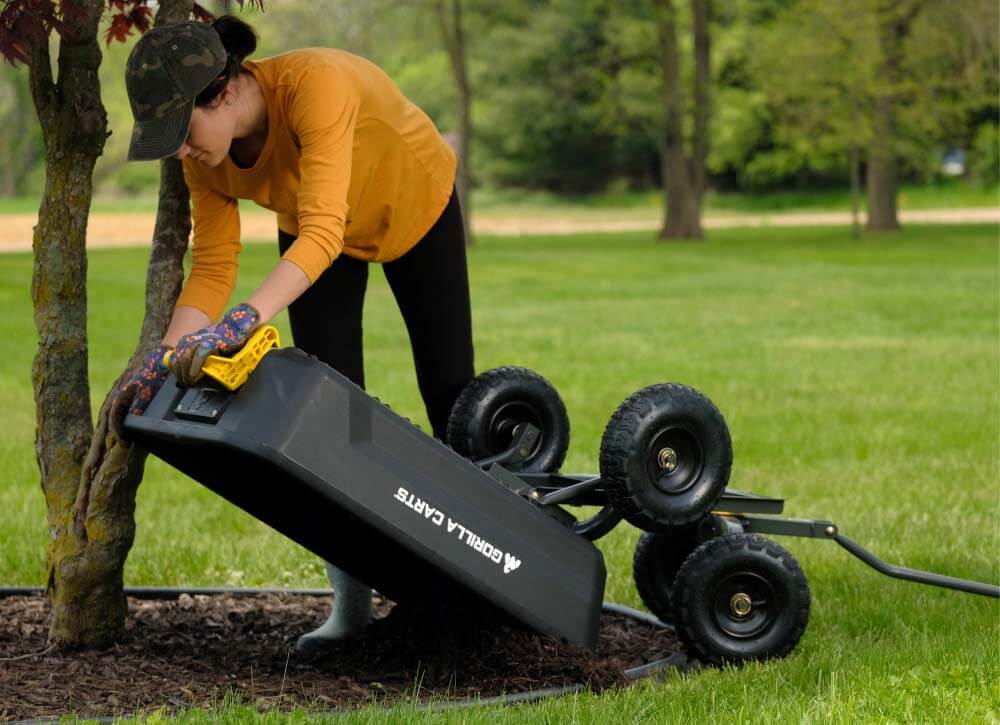
Create a 50/50 blend of these ingredients by mixing up the right portions into a Gorilla Cart, Gorilla Wheelbarrow or any large basin. This makes the process quick, clean and easy to manage.
Once blended together, use this soil mix to fill each bucket about one-third of the way.
3. Add Fertilizers
Gather up three different kinds of fertilizer to sprinkle on top of the soil. These fertilizers include:
- Fish meal (8-6-0)
- Blood meal (12-0-0)
- Bone meal (3-15-0) or all purpose (4-6-2)
Add 1 oz of fish meal, blood meal and bone meal (or all purpose) to each bucket to create a 3 oz fertilizer blend in each container.
4. Plant the First Layer of Potatoes
Place two potatoes into opposite sides of each bucket at the 12 o’clock and 6 o’clock position. Do your best to ensure the sprouts are facing upwards. Cover the spuds with soil, filling about two-thirds of the bucket.
5. Add More Fertilizer
Repeat step three and sprinkle 1 oz of fish meal, blood meal and bone meal (or all purpose) into each bucket.
6. Plant the Second Layer of Potatoes
Next, add two additional potatoes on top of the soil and fertilizer at the 9 o’clock and 3 o’clock position. Try to make sure the sprouts are facing up, then cover the potatoes with enough soil to fill the bucket up almost completely. Leave 1” of room toward the very top.
7. Top Off With Mulch
Use the remaining space to add a layer of mulch on top. This will help to keep the moisture in the soil, preventing it from drying out.
8. Water and Monitor
Add plenty of water to each of your buckets immediately after mulching. Periodically check moisture levels by brushing aside the mulch and inserting your finger into the soil. If the soil feels dry and doesn’t cling to your finger, it could use some more watering.
After several weeks, you should start to see your sprouts stemming to the surface. At this point, make sure the stems are getting plenty of sunlight — although especially hot conditions may call for partial shade.
The stems will continue growing, flowering and even producing berries. Around the time you start seeing flowers, and especially by the time you see potato berries, it means that “new” potatoes are being formed.
Harvesting “New” Potatoes
Tiny “new” potatoes can actually be harvested before they reach full maturity, as many people like to use them in cooking for their tender skin, sweet flavor and creamy, moist texture. Unearthing potatoes at this stage won’t result in a big yield, as each potato is very small, but it may be worth it depending on your preferences.
9. Harvesting Mature Potatoes
If you’d like mature potatoes, you’ll have to wait several more weeks until the stems have died back. This is a natural part of their cycle, and indicates that the potatoes are ready to harvest.
Take your bucket and dump it into your Gorilla Cart. After breaking apart and sifting through the soil, you may be delighted to find a generous haul — around five to eight times the amount of potatoes originally planted!
Try It Yourself With Gorilla
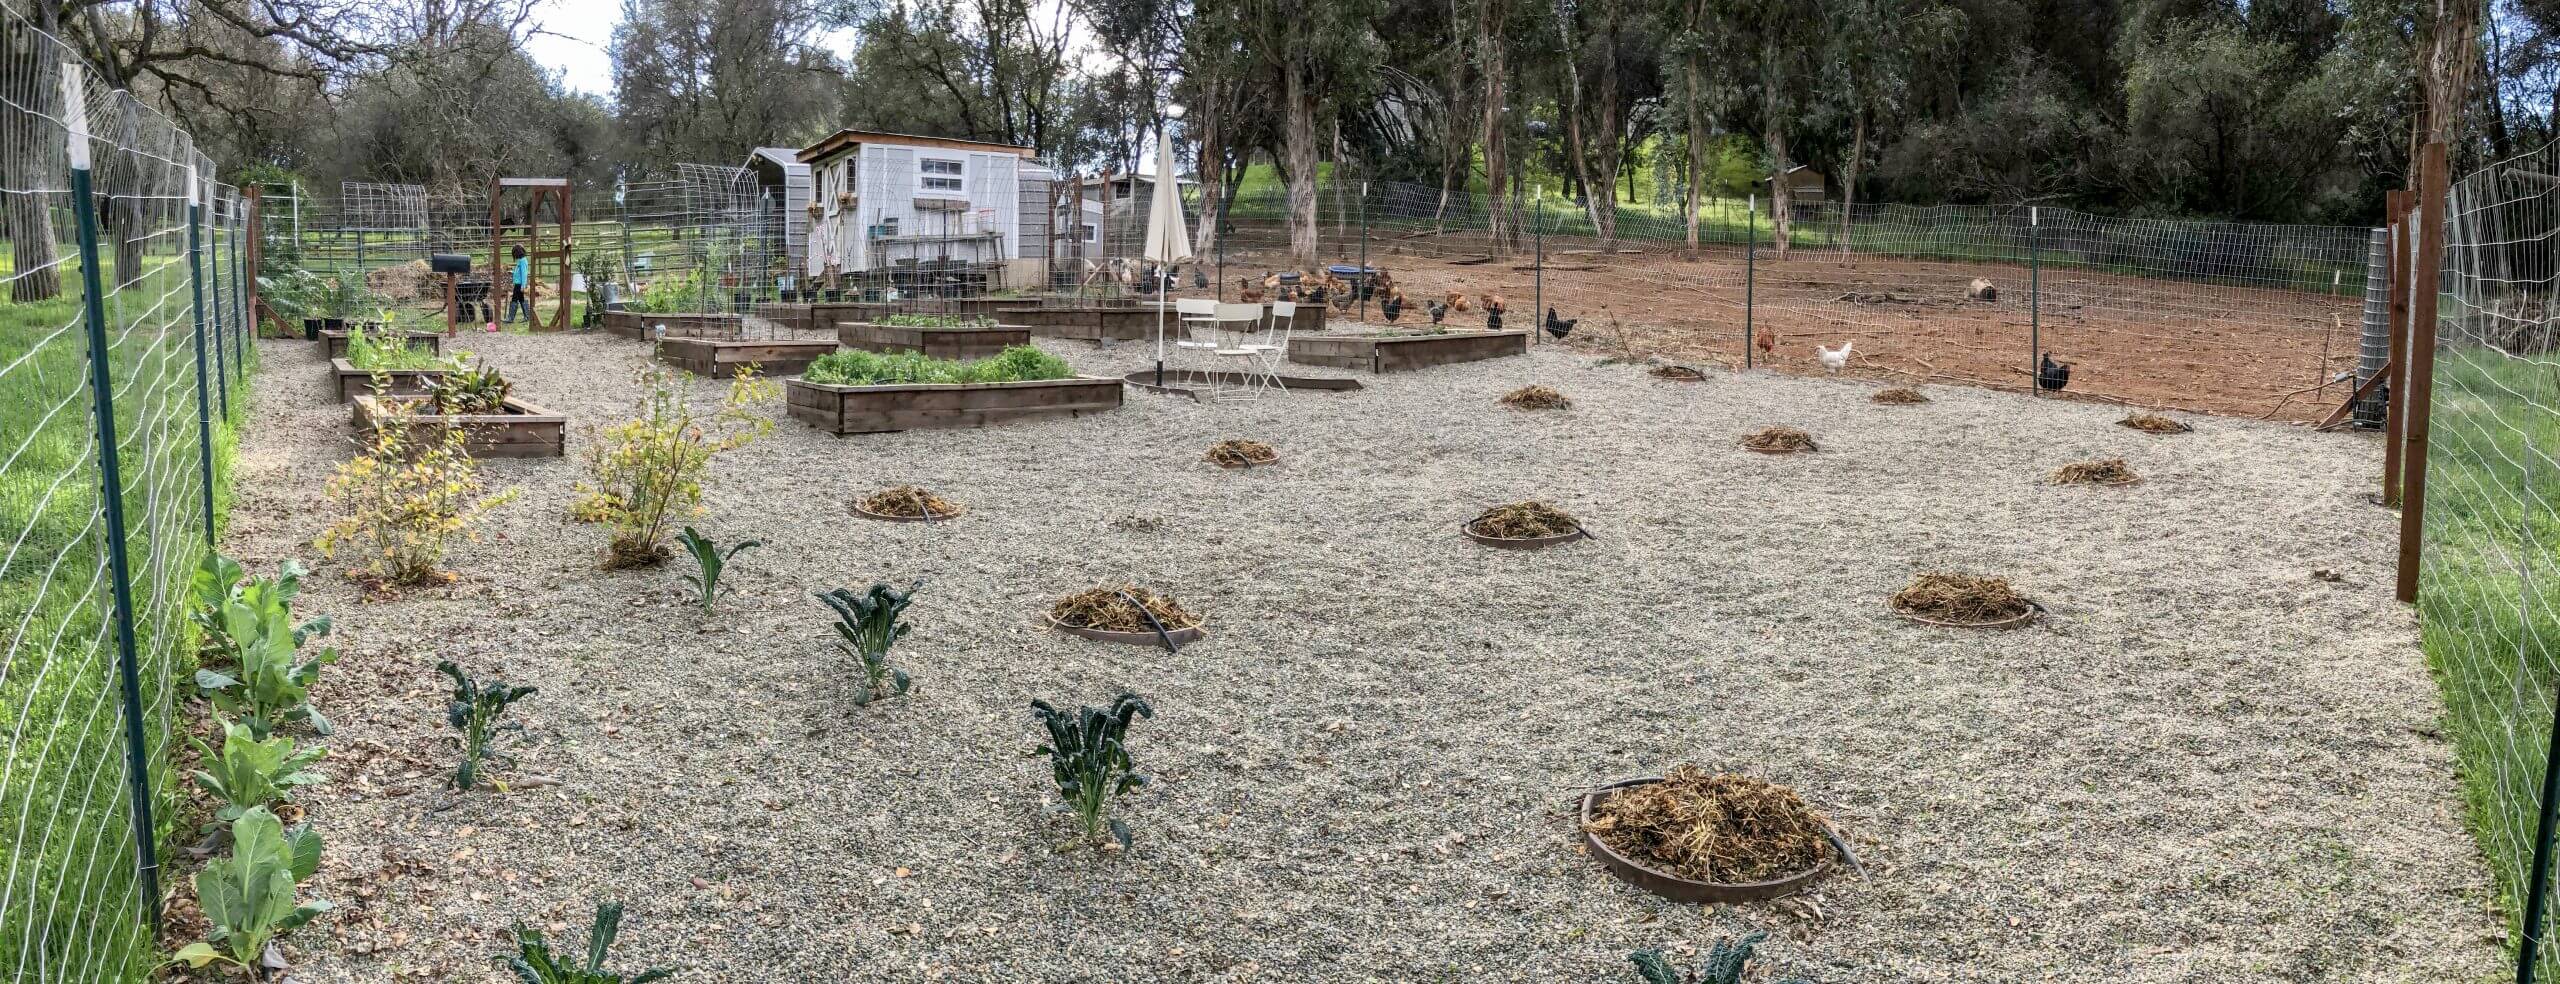
You don’t need a lot of space to grow a lot of food. This method of growing potatoes can be done by practically any gardener in any yard. With good nutrients, a few tricks and regular watering, you can yield a satisfying harvest for yourself and your family.
Ready to set yourself up for even more success? Whether growing potatoes with Epic Gardening, hauling around compost or planting big bushes, a Gorilla Cart is sure to be one of your most valuable garden tools. Find the right Gorilla Cart for you, then start tackling garden projects with ease!
Other Posts Like This
-
Are you a gardener looking for a new cart to help you carry your gardening tools and plants? Or are you a landscaper needing a new cart to help carry your equipment? Whatever your needs may be, we have three Gorilla Carts that will make your life easier.
-
Welcome to our newest blog series, where we’re telling the story of YOU, our customers. So many of you have fun and interesting stories to tell about your passion for gardening, the newest landscape project you’ve just completed, or the DIY project you can’t wait to show off. We’re happy that our carts get to play a small, supporting role in the amazing things you’re doing to improve your life and home.
-
Every yard tool in your arsenal is there to make the projects you tackle easier. Helpful Gorilla Carts® Cart features like the quick-release dump and easy-pivot design give you the benefits of versatility and dexterity so that you don’t have to strain and struggle during your favorite outdoor activities. Great design is what makes a tool truly valuable to its user.
-
Meet Paul Barlow. He’s a Pennsylvania native and a passionate Philadelphia sports fan, citing support for the Eagles, Phillies, Flyers, Sixers, and Villanova football and basketball teams. He’s not having too bad a year either, with a Super Bowl and NCAA basketball championship already under his belt as spring gets underway.